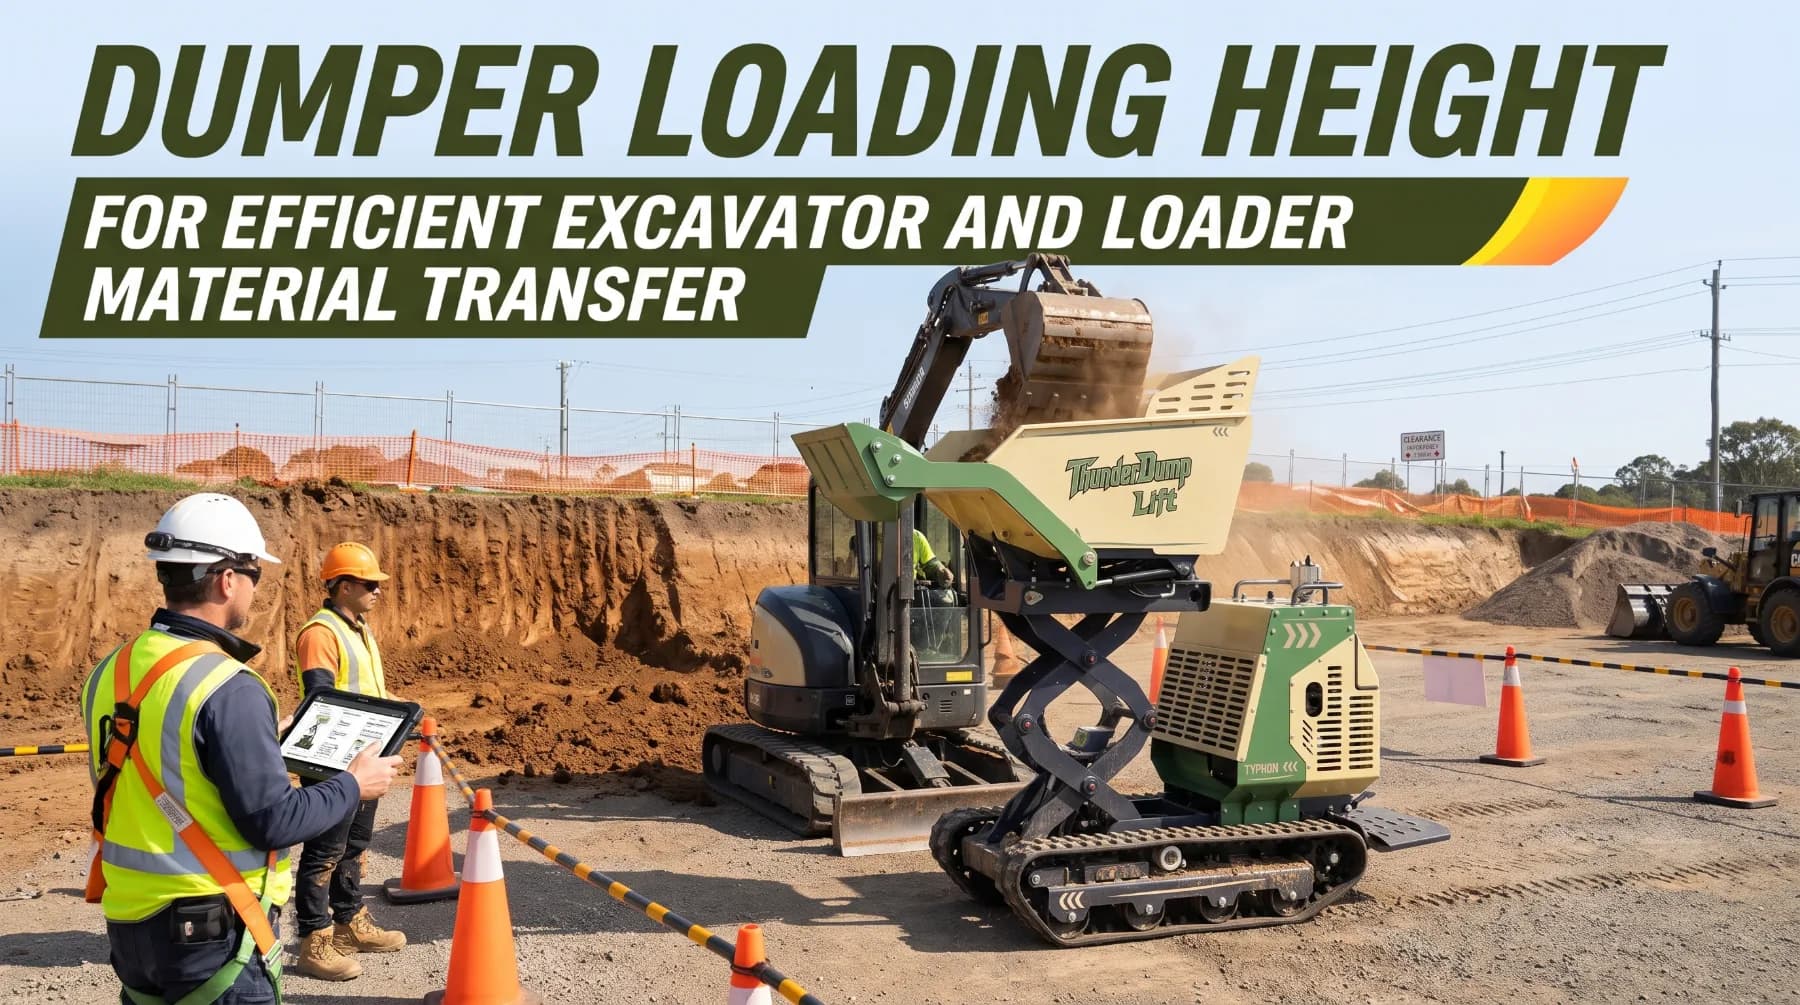
A site dumper rolls up beside a compact excavator, and the operator swings a full bucket of wet clay toward the hopper. The teeth clear the rim by a few inches, but the bucket's back edge catches the sidewall as it opens. Clay spills down the side, the dumper rocks, and the operator has to slow every cycle that follows. Across the yard, a wheel loader faces the same problem in reverse. It can reach the hopper easily, but its bucket is too wide to discharge cleanly and drops half of each load on the ground. In both cases, the machines are working properly. They just aren't matched to each other.
Dumper loading height is the measurement that connects the dumper to the machine loading it. Together with hopper dimensions and payload, it decides whether an excavator or loader can place material quickly and cleanly, or whether every pass becomes a slow, careful effort with spillage and risk. Getting the match right shortens loading cycles, protects both machines, and keeps workers clear of suspended loads.
Understanding Dumper Loading Height
Loading height generally describes how high material must be lifted to enter the dumper's hopper. On most machines, it's measured from the ground to the top edge of the hopper sidewall or rim at its highest point. Some manufacturers measure the front lip, the rear edge, or the side rail, and some list several dimensions. Before you compare models, check the technical drawing and specification footnotes to see exactly which point was measured.
Loading height is not the same as dumping height. Dumping height, or discharge height, describes how high the hopper's discharge edge sits when the hopper tips. That figure matters when the dumper empties into a skip, container, or raised bed, which is especially relevant for high-tip models. Loading height matters when another machine fills the dumper. A high-tip dumper can have a modest loading height and a tall discharge height, so the two figures should never be swapped during planning.
Ground conditions shift real loading height on site. A dumper parked in a rut sits lower, while one parked on a mat or a raised pad sits higher. If the excavator works from a bench above the dumper, the effective height it must clear drops. If it works from below, the height increases. Plan with these differences in mind rather than relying only on the brochure figure.
Key takeaway: Loading height is the height material must clear to enter the hopper, while dumping height describes the discharge point during tipping. Confirm which point each figure measures, request it for your exact configuration, and account for ground level differences on site.
Matching Dumper Hopper Height to Excavator Reach
An excavator loads a dumper by swinging its bucket over the hopper, opening it, and returning to the dig. To do that cleanly, the excavator's dump height must clear the hopper rim with margin. Its reach must also place the bucket over the center of the hopper rather than the near edge. Both figures come from the excavator's working range diagram, and both depend on the arm length and bucket fitted.
Bucket geometry matters as much as height. When an excavator bucket opens to dump, its teeth point downward and the back of the bucket swings out. A deep digging bucket hangs lower when dumped than a shallow grading bucket. Bucket width must also suit the hopper. A good working rule is to leave several inches of clearance on each side of the bucket, so a 24-inch bucket suits a hopper opening of 36 inches or more. A bucket nearly as wide as the hopper spills material over the sides on every pass.
Position also shapes reach. The excavator should load the dumper within its comfortable working envelope, not at full reach, where control is weakest and stability lowest. Park the dumper close enough that the bucket reaches the hopper center with the arm partly tucked in. Keep it far enough away that the excavator's tail swing and counterweight stay clear of the dumper and the travel route.
Key takeaway: Compare excavator dump height for your actual bucket against hopper loading height plus a 1- to 2-foot margin. Match bucket width to the hopper opening, and position the dumper so the bucket reaches the hopper center within the excavator's comfortable working range.
Wheel Loader Bucket Clearance and Transfer
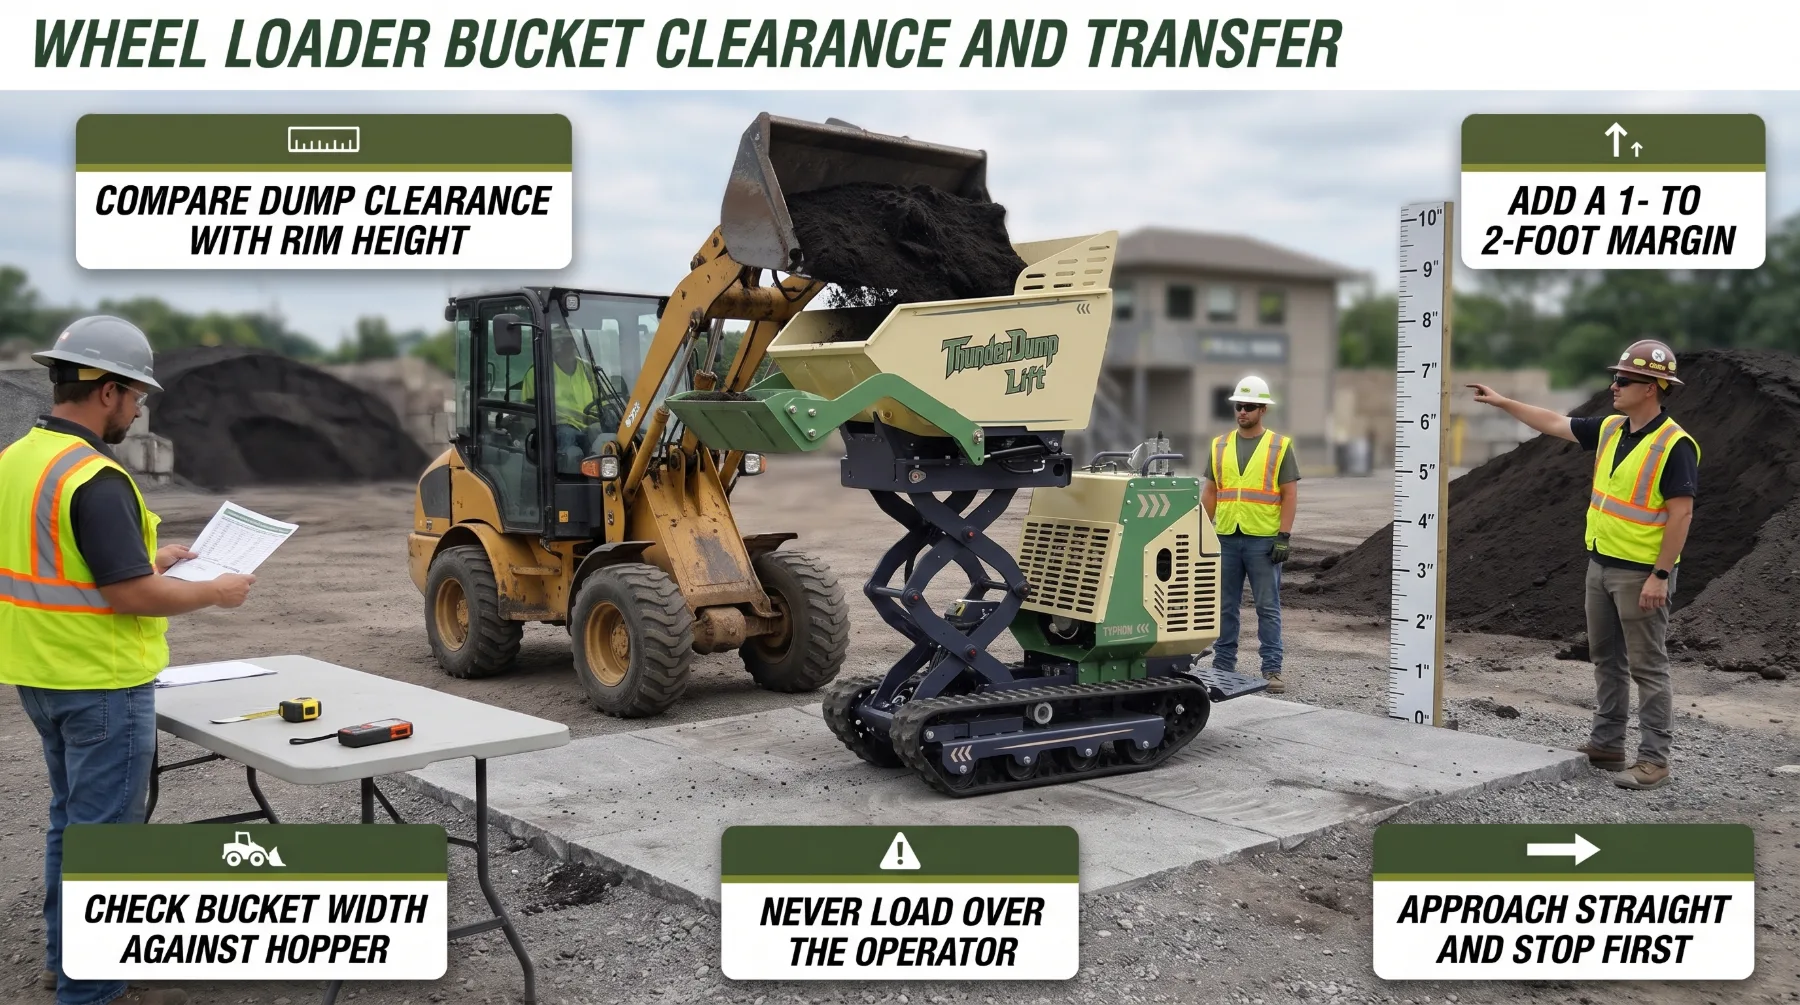
Wheel loaders transfer material differently from excavators. Instead of swinging, they drive forward to the dumper, raise the bucket, and tip it over the hopper. That means the loader's dump clearance, dump reach, and bucket width all have to suit the dumper. Its approach path must also leave room to drive in, discharge, and back away without striking the dumper.
Dump clearance is the height beneath the bucket's cutting edge at full raise and a stated dump angle, often 45 degrees. Dump reach is how far forward the cutting edge sits in that position. Compare dump clearance with the dumper's loading height plus at least 1 to 2 feet of margin. Then confirm the dump reach allows the bucket to discharge toward the middle of the hopper rather than the near rim. A compact wheel loader listing about 8 feet of dump clearance suits a site dumper with a 6-foot rim. The same loader would struggle with a dumper whose hopper sits at 7.5 feet.
Bucket width is often the limiting factor with wheel loaders. Loader buckets are usually wider than excavator buckets, and many are wider than a compact dumper's hopper. A 72-inch loader bucket discharging into a 60-inch hopper will spill over the sides no matter how carefully it's tipped. In that case, the loader may need to approach at an angle that matches the hopper's longest dimension, use a narrower bucket, or hand off to a larger dumper. Check the dumper's hopper length and width against the loader's bucket width before work begins.
Approach direction depends on the dumper's design. Many forward-tip site dumpers carry the hopper in front of the operator, so loading from the front or front-corner keeps the bucket away from the operator's seat. Others are better loaded from the side. Never raise a loaded bucket over the dumper's operator position or any person, and agree on the approach direction before the first pass. Raise the bucket only after the loader has stopped on firm, level ground beside the dumper.
Key takeaway: Compare wheel loader dump clearance and reach against hopper loading height plus margin, and check bucket width against hopper dimensions. Agree on approach direction, raise the bucket only when stopped, and never pass a load over the dumper operator.
Hopper Dimensions and Material Distribution
Hopper size affects more than how much material the dumper can hold. Length, width, sidewall height, and internal shape decide how easily material enters, where it settles, and how evenly the load sits on the chassis. A well-matched hopper lets the loading machine discharge in one smooth motion. A poorly matched one creates spillage, uneven loads, and extra cleanup.
Material placement shapes stability. Material dropped toward one side shifts the load's center of gravity and can make the dumper lean or pull while traveling, especially on slopes and soft ground. Loading operators should aim for the center of the hopper and spread successive passes evenly from front to rear. Avoid heaping material above the rim, since loose material can fall from the hopper during travel and strike workers or block the route. Sticky clay that clings to one side of the hopper also unbalances the next load, so clean the hopper when buildup develops.
The drop height into the hopper deserves attention too. Material released from high above the rim strikes the hopper hard, shocks the chassis and suspension, and can rock the dumper. Lower the bucket as close to the rim as clearance allows, and release the load smoothly rather than dumping it all at once. Rock, broken concrete, and other heavy, angular material need extra care, since they can damage the hopper and bounce out.
Key takeaway: Calculate loads by weight using material density, not hopper volume. Place material in the center of the hopper, spread passes evenly, avoid overfilling, and lower the bucket close to the rim to reduce impact and spillage.
Positioning Equipment for Safe Loading
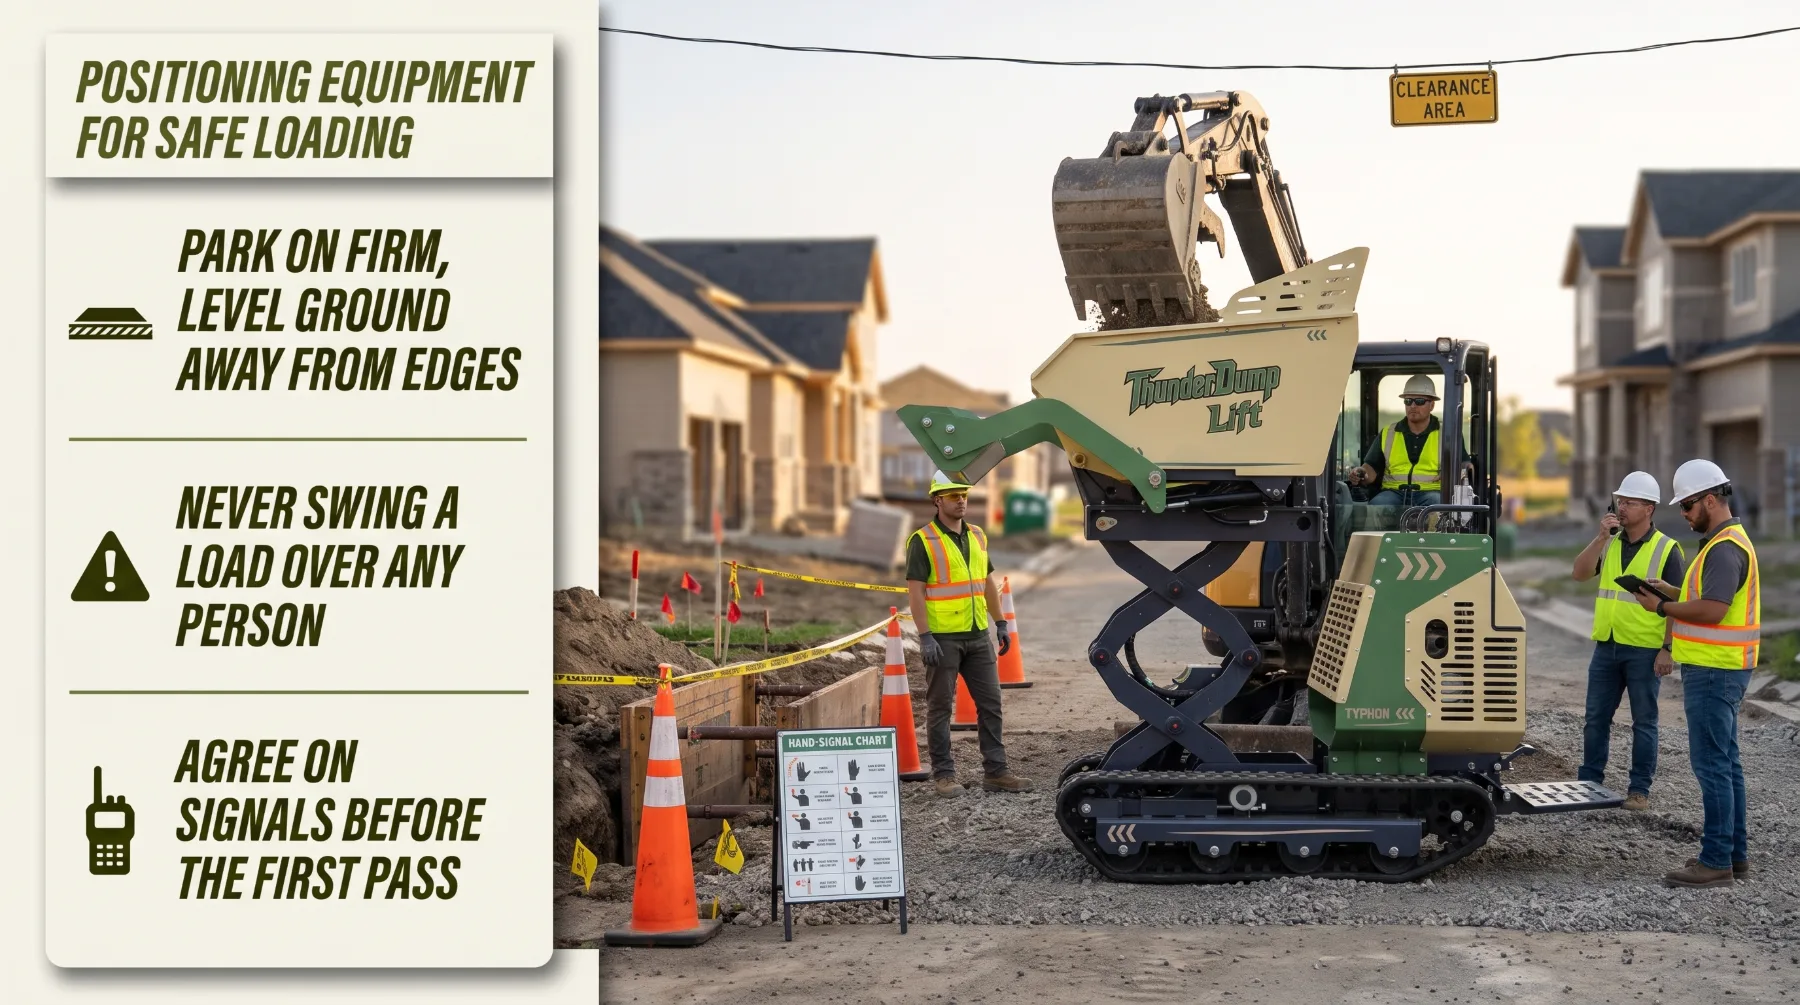
Loading brings two machines and their operators close together, often with ground workers nearby. Most loading incidents involve a suspended bucket, a machine moving unexpectedly, or a worker standing where an operator can't see them. A clear positioning routine prevents all three.
Start with the ground. Park the dumper on firm, level ground with the parking brake applied and the hopper fully lowered. Chock the wheels where site rules require it. Keep the dumper well back from trench edges, excavations, and embankments, since the combined weight of the dumper and its load can collapse unsupported ground. The loading machine also needs firm, level footing. An excavator should work with its dozer blade lowered on the loading side where possible. A wheel loader should approach squarely, without articulating sharply while the bucket is raised.
Protect the dumper operator during loading. Never swing or carry a loaded bucket over the dumper's cab, seat, or operator platform, or over any person. Many sites require the dumper operator to leave the machine and stand in a safe, designated position clear of the bucket path during loading. That rule applies unless the dumper has suitable falling object protection and site rules allow the operator to stay at the controls. Follow your site's procedure. On ride-on dumpers, the operator should wear the seat belt whenever the machine moves.
Communication ties the process together. Agree on hand signals or radio calls before work starts, including signals for stop, hold, and load complete. The dumper should never move until the loading operator signals that the bucket is clear. Keep pedestrians outside the loading zone with cones or barriers, and use a spotter whenever visibility is limited or several machines work close together. Check overhead before raising any bucket. Treat every overhead power line as energized unless the utility confirms otherwise.
Key takeaway: Position both machines on firm, level ground away from edges, never pass a load over the dumper operator or anyone else, and agree on signals before the first pass. Mark an exclusion zone and check overhead clearance before raising the bucket.
Improving Loading Cycle Efficiency
Efficient loading comes from coordination, not speed. When the dumper, the loading machine, and the route work together, each cycle flows smoothly from dig to discharge to travel. When they don't, operators wait, spill material, and reposition more than they load.
Swing angle has a strong effect on excavator cycle time. Position the dumper so the excavator swings about 45 to 90 degrees between the dig face and the hopper, not a full half-turn. Place the dumper on the side the operator can see clearly, and keep the bucket's return path free of obstacles. For wheel loaders, the goal is a short, straight approach. A V-pattern or similar layout lets the loader fill at the pile, back out, and drive straight to the dumper without long turns.
Route planning keeps the dumper moving. Set up a defined loading position, a clear entry path, and a separate exit path so the dumper doesn't have to reverse into the loading zone. On busy sites, two dumpers working in rotation can keep the loading machine productive. One loads while the other travels and tips. Keep the loading area clean, since spilled material creates ruts and soft spots that tilt the dumper and slow every approach.
Track the results. Time a few full cycles at the start of each job, including loading, travel, tipping, and return, and note how many passes each load takes. When cycle times grow, look for causes such as a deteriorating route, a poorly placed dumper, an oversized bucket, or a change in material. Small adjustments to position, bucket choice, or route often recover more productivity than pushing operators to work faster.
Key takeaway: Aim for about 3 to 6 passes per load, keep excavator swing angles short, and plan straight loader approaches. Use defined entry and exit routes, consider rotating dumpers, keep the loading area clean, and track cycle times to spot problems early.
Inspection, Leak Safety, and Lockout
Reliable material transfer depends on machines in good condition. Before each shift, inspect the dumper's hopper, hinge pins, tipping cylinder, tires or tracks, brakes, steering, seat belt, protective structure, and warning devices. Check the loading machine's bucket, quick coupler lock, pins, and hoses as well. Confirm that both capacity labels are legible. Remove any machine with faults in brakes, steering, hydraulics system, the coupler, or safety devices from service until a qualified technician repairs it.
Never use your hand to search for a hydraulic leak. Fluid escaping through a pinhole under pressure can penetrate skin and cause an injection injury. The wound may look minor at first, but it's a medical emergency that requires immediate surgical treatment. Use a piece of cardboard or wood, wear gloves and eye protection, and keep your face out of line with the suspected leak. If anyone is struck by escaping fluid, get emergency medical care at once and tell medical staff it's a hydraulic injection injury.
Before any inspection, cleaning, or repair, park on firm, level ground away from edges and traffic. Lower the dumper's hopper fully, or engage the manufacturer's approved hopper support if it must stay raised. Lower the excavator's or loader's attachment to the ground. Apply the parking brake, shut down the engine, and remove the key. Relieve hydraulic pressure as the manufacturer instructs, then apply your personal lock and tag and verify isolation. Never work beneath a raised hopper, boom, or bucket held only by hydraulics, and never rely on improvised blocking.
Key takeaway: Inspect both machines every shift, check leaks with cardboard rather than your hands, and lower or support every raised component and lock out before service.
Conclusion
Dumper loading height decides how easily an excavator or wheel loader can transfer material into the hopper. It's a different figure from dumping height, and it must be compared against the loading machine's dump height, clearance, and reach for the actual bucket in use, with a margin of 1 to 2 feet. Bucket width must suit the hopper opening. Loads must be calculated by weight rather than volume, and material must be placed evenly to keep the dumper stable. Safe positioning, clear signals, and short, well-planned cycles turn a good equipment match into consistent productivity.
Frequently Asked Questions
Is dumper loading height the same as dumping height?
No. Loading height is the height material must clear to enter the hopper, usually measured to the top of the hopper rim. Dumping height describes how high the discharge edge sits when the hopper tips, which matters when emptying into skips, containers, or raised beds. Check each manufacturer's drawings to confirm exactly which point every figure measures.
How do I match a dumper to an excavator?
Add a 1- to 2-foot clearance margin to the dumper's loading height, then compare that total with the excavator's published dump height for the bucket you'll use. Confirm the excavator can reach the hopper center within its comfortable working range, and choose a bucket narrower than the hopper opening with several inches of clearance on each side. Aim for about 3 to 6 passes per load.
Can a wheel loader load any compact dumper?
Not always. The loader's dump clearance must exceed the hopper height with margin, its dump reach must place material near the hopper center, and its bucket must fit the hopper's length or width. Many loader buckets are wider than compact dumper hoppers, which causes spillage. Compare these dimensions before work begins, and never raise a loaded bucket over the dumper operator.
Does a higher dumper loading height improve productivity?
Not by itself. A taller hopper may hold more material, but it requires a loading machine with enough dump clearance and reach to fill it cleanly. Productivity depends on matching loading height, hopper size, bucket width, payload, swing angle, and travel routes. A well-matched pair of machines with short, coordinated cycles usually outperforms a larger dumper paired with an undersized loader.